Essentials of Grout Cleaning in Pool Maintenance
Grout cleaning is a critical aspect of pool maintenance that ensures the cleanliness and hygiene of our swimming environments. Properly maintained grout helps keep the pool looking pristine and sparkling, while neglect can lead to a buildup of grime and bacteria, compromising both the appearance and the sanitary conditions of the pool.
Why Clean Grout?
Maintaining grout is essential for several reasons:
- Aesthetics: Clean grout maintains the pool’s attractive appearance.
- Hygiene: Regular cleaning prevents the growth of mold and algae, which can be harmful to swimmers.
- Longevity: Well-maintained grout can extend the lifespan of the pool by keeping the surface intact and preventing damage.
Approach to Grout Cleaning
We follow a methodical approach to grout cleaning to achieve the best results:
- Inspect: Assess the grout condition to determine the extent of cleaning required.
- Choose Cleaning Solutions: Utilize pH-neutral cleaners that are effective and safe for pool surfaces.
- Scrubbing: Gently scrub the grout lines with a suitable brush to avoid damage.
- Rinse Thoroughly: Ensure all cleaning solution and residue are completely washed away.
Frequency of Cleaning
- Regular Cleaning: Includes light scrubbing and should be performed weekly.
- Deep Cleaning: More intensive cleaning may be required quarterly, depending on pool usage and exposure to elements.
We emphasize that neglecting the importance of grout cleaning can lead to costly repairs and a diminished user experience. Regular upkeep of the grout not only contributes to the overall maintenance of the pool but also supports a well-maintained look and ensures our swimmers enjoy a clean and healthy swimming environment.
Preparing for Grout Cleaning
When we talk about grout cleaning in the context of pool maintenance, it’s crucial to ensure that we have all the necessary supplies and understand the steps involved in the preparation process.
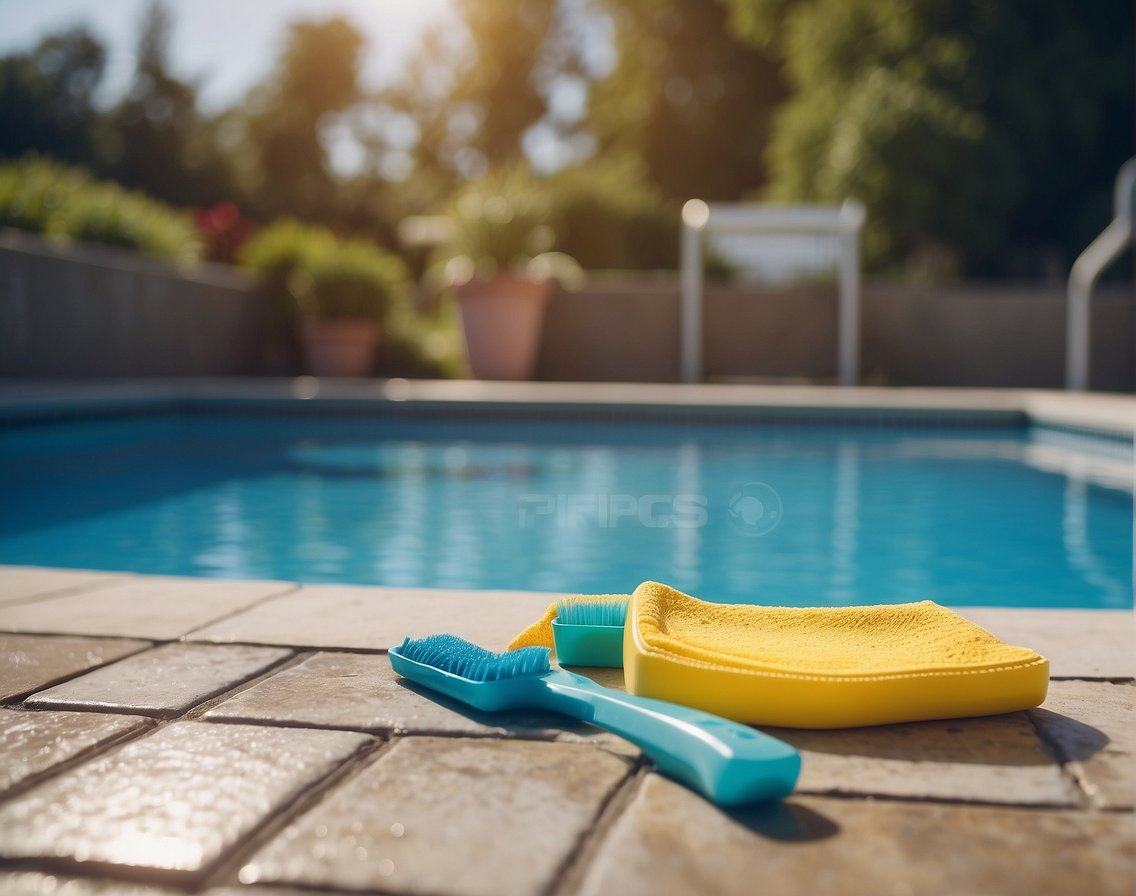
Safety Measures and Necessary Supplies
Before we embark on cleaning the grout in a pool, we prioritize our safety. We make sure to wear safety goggles and gloves to protect our eyes and skin from cleaning agents and debris. Here’s a quick list of the supplies we gather:
- Safety goggles
- Gloves
- Grout cleaning agents
- Grout scrubber or brush
- Bucket
- Sponges or cloths
- Vacuum (for debris removal)
Equipped with these tools, we are ready to handle the cleaning process efficiently without compromising our safety.
Pre-Cleaning Pool Preparation Steps
Our preparation begins with ensuring that the pool is drained appropriately; this includes removing any remaining water and debris using a vacuum. Here’s a simple table outlining the pre-cleaning steps:
| Step | Description |
|---|---|
| 1. Drain the pool | Empty the pool completely to expose the grout. |
| 2. Remove debris | Use a vacuum to remove debris from the surface. |
| 3. Inspect the grout coverage | Check the entire pool area to ensure no section is overlooked during cleaning. |
Our knowledge of pool systems and grout maintenance informs every step of our process, guaranteeing thorough coverage and proper preparation for the grout cleaning task at hand.
Effective Grout Cleaning Techniques
In pool maintenance, the clarity of the water is often our focus, but it’s the cleanliness of the grout that ensures a truly hygienic swimming environment. We’ll guide you through the best practices for effective grout cleaning, ensuring your pool remains an inviting oasis.
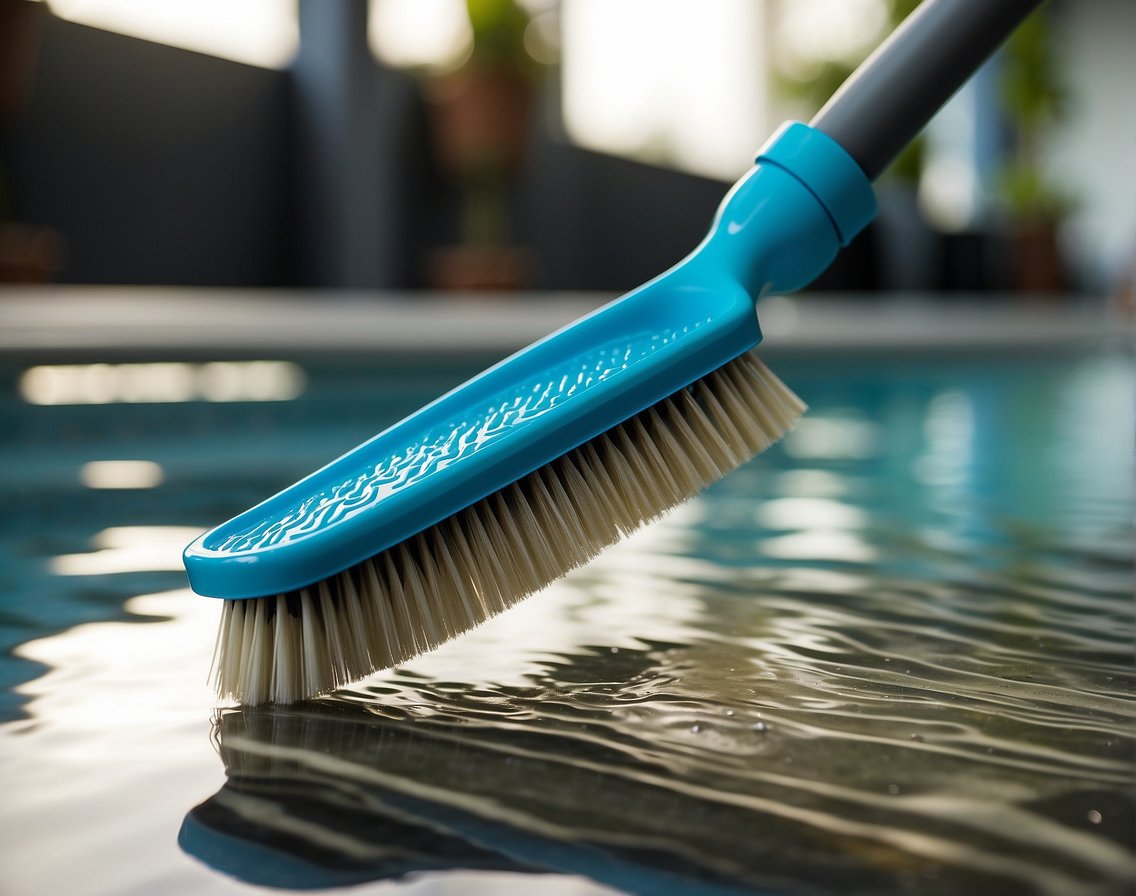
Choosing the Right Cleaning Agents and Tools
The key to effective grout cleaning lies in selecting appropriate solutions and tools. For routine cleaning, we recommend:
- Cleaning Agents: A balanced pH-neutral grout cleaner to protect both the tiles and the pool water.
- Brushes: A grout brush with stiff bristles for targeted scrubbing without damaging the grout.
- Sponge: A large sponge or microfiber cloth for wiping down areas after scrubbing.
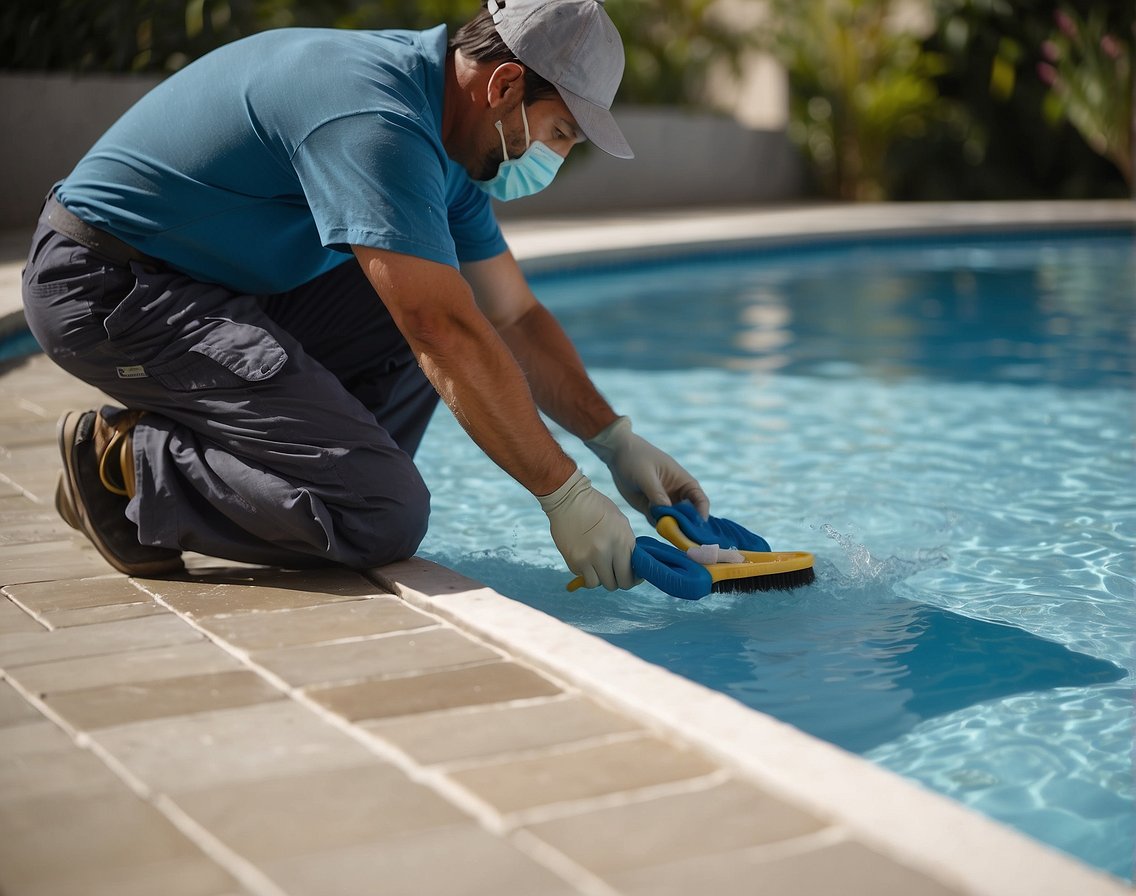
When dealing with tougher stains, such as mold or algae, a stronger solution containing chlorine or peroxide may be necessary. Always use gloves and protective eyewear when handling stronger chemicals.
Step-By-Step Grout Cleaning Methodology
A methodical approach ensures thorough cleaning. Here’s our recommended process:
- Preparation: Remove debris from the pool surface.
- Application: Apply the chosen grout cleaner onto the grout lines.
- Scrubbing: With the grout brush, apply moderate pressure to scrub the grout lines effectively. For stubborn stains, allow the cleaning agent to sit for a few minutes before scrubbing.
- Sponge Cleaning: Use a sponge to wipe away the loosened grime and excess cleaner, which helps prevent residue.
Repeat the process if necessary, especially in areas with visible mold or discoloration, ensuring we restore the grout to its original state.
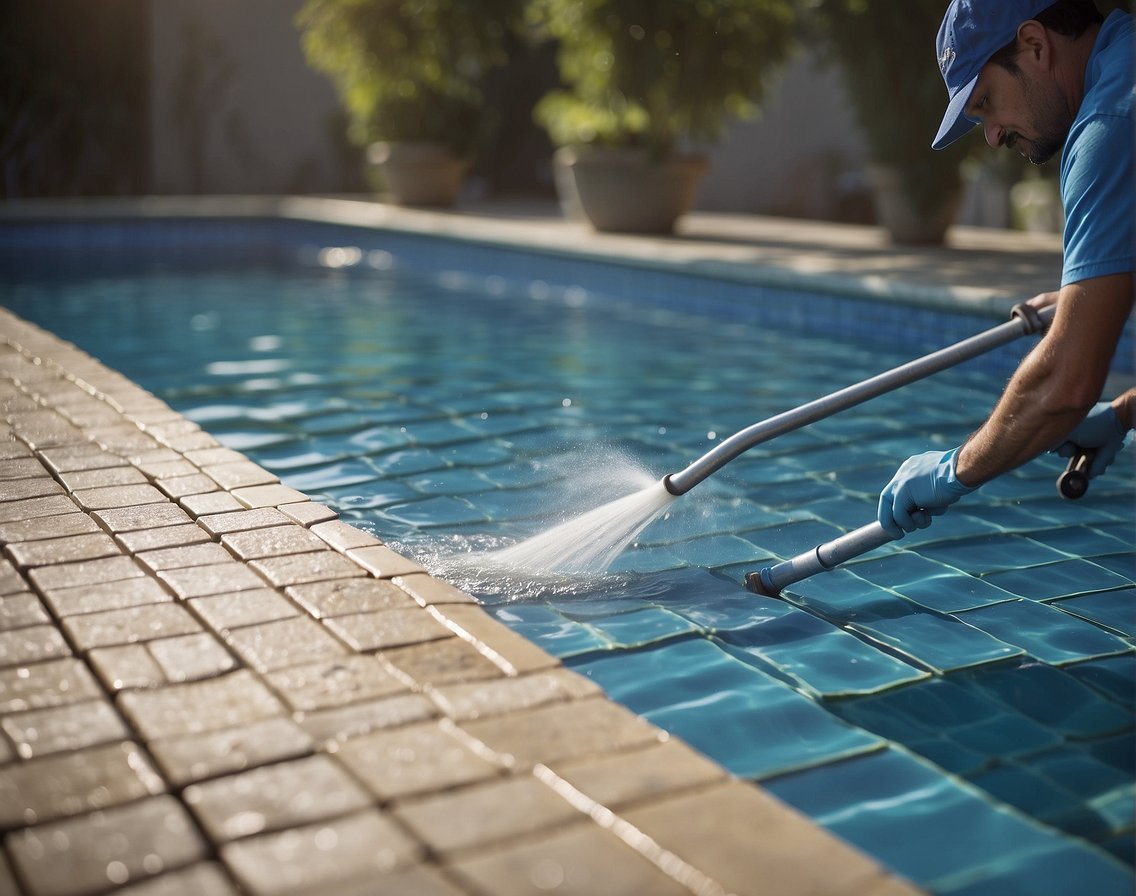
Rinsing and Drying for Best Results
After scrubbing, rinsing effectively is crucial. Follow these steps:
- Rinsing: Use a clean bucket of water to rinse off the cleaning solution thoroughly. For larger pools, a pressure washer can be used at a safe pressure to prevent grout damage.
- Drying: Allow the grout to dry completely. Adequate drying prevents mold regrowth and ensures any residual chemicals do not affect the pool’s water chemistry.
By using the right tools, applying a systematic cleaning method, and following up with a careful rinse and dry, we ensure our pool’s grout is not just aesthetically pleasing but hygienically clean as well.
Pool Grout Maintenance and Prevention
Maintaining pool grout is vital to prevent algae and grime build-up, ensuring a clean swimming environment. We’ll explore routine cleaning techniques and the importance of grout sealing to prolong your pool’s overall lifespan.
Routine Cleaning to Prevent Algae and Grime Build-Up
To effectively maintain pool grout and prevent unhygienic conditions, it’s imperative we establish a regular cleaning regimen. Weekly brushings with a stiff pool brush can remove early signs of algae and grime before they establish a foothold. Here’s a simplified routine:
- Inspect the Pool Grout: Visually check for signs of algae, grime, or mold.
- Brush the Grout Lines: Use a stiff-bristled brush to dislodge debris.
- Apply Tile and Grout Cleaner: Choose a pool-safe product and apply it according to the manufacturer’s instructions.
- Rinse Thoroughly: Ensure no cleaning product remains that could affect pool water chemistry.
By adhering to this routine, we can significantly reduce the potential for problematic build-up and the need for more extensive cleaning measures down the line.
Applying Grout Sealer to Extend Pool Grout Lifespan
Sealing pool grout is an often overlooked, yet crucial step in extending the grout’s lifespan and facilitating easier maintenance. Grout sealer acts as a barrier against moisture, chemicals, and contaminants, thus preventing the growth of mold and algae. Here’s a brief overview of the sealing process:
- Choose the Right Grout Sealer: Opt for a sealer designed for pool environments, withstanding chemical exposure and sun damage.
- Ensure Clean and Dry Grout: Sealer should only be applied to clean, fully dried grout lines to ensure proper adhesion.
- Apply Sealer Evenly: Use a small brush or applicator to coat the grout lines evenly and avoid overspreading onto tiles.
- Allow Adequate Drying Time: Refer to product instructions for drying times before refilling or using the pool.
Sealing is not a one-time task; it should be part of our maintenance routine. Reapplication is recommended approximately every one to two years or as suggested by the sealer manufacturer.
Through meticulous cleaning and protective sealing, we can effectively maintain our pool’s grout, thus preserving its function and aesthetic. This preventative approach saves us time and resources in the long run and keeps our swimming area in optimal condition.
Understanding Pool Chemistry and Grout Impact
Maintaining pool water chemistry is crucial for a safe and pleasant swimming environment. The balance of pH and alkalinity is at the heart of this task. We aim for a pH level between 7.2 and 7.8 to ensure that pool chemicals work efficiently and to reduce potential irritation to swimmers’ skin and eyes.
Types of grout, such as epoxy or traditional cement-based options, play a significant role in the pool’s overall health. Epoxy grout is less porous and therefore less susceptible to stains and mineral deposits. Meanwhile, cement-based grout is more likely to harbor bacteria and algae, leading to discoloration and a higher demand for pool chemicals.
To preserve both aesthetics and hygiene, attending to the grout between pool tiles is a must. Discoloration and stains not only damage the appearance but can also affect water quality. Regular grout cleaning helps to restore the grout’s original color and prevents the growth of harmful organisms. Here’s a quick guide to grout care:
- Colored grout: Ideal for matching or complementing pool tiles; requires regular cleaning to maintain its appearance.
- Epoxy grout: More resistant to chemicals and stains; an excellent long-term investment for reducing maintenance needs.
A routine check for changes in the grout can provide an early warning for potential imbalances in the water chemistry. If we observe signs of wear or damage, we address these issues promptly to keep our pool pristine and safe for all users.
Frequently Asked Questions
Proper maintenance of grout in swimming pools is key to ensuring longevity and aesthetic appeal. Here, we provide answers to common queries about grout cleaning and pool maintenance.
What methods are effective for cleaning grout in swimming pools?
We recommend using a mixture of white vinegar and water for mild grout cleaning, or a specialized pool tile and grout cleaner for more stubborn stains. Always scrub gently with a soft-bristle brush to avoid damaging the grout.
How can pool tiles be cleaned above the water line without causing damage?
To clean tiles above the water line, we apply a non-abrasive pool tile cleaner and use a soft cloth or sponge. It’s important to avoid harsh chemicals and abrasive tools that could scratch the tile surface.
Is it possible to clean pool tiles without having to drain the pool?
Yes, it is possible to clean the tiles without draining the pool. We use long-handled brushes and non-toxic cleaning agents designed for use in water to clean tiles at or below the water line, ensuring the pool’s usability is not compromised.
What are the best practices for cleaning pool coping stones?
For coping stones, we utilize a pH-neutral cleaner to prevent any damage to the stone surface. Regular rinsing and gentle scrubbing are crucial to maintaining the integrity of the coping.
How frequently should swimming pool grout be replaced to maintain structural integrity?
We advise inspecting pool grout annually and replacing it every 3 to 5 years, or whenever signs of wear and damage appear. Timely replacement prevents water infiltration and structural damage.
What is the appropriate waiting period for grout to set before a pool can be refilled with water?
After re-grouting a pool, we wait for at least 24 to 48 hours to allow the grout to set properly before refilling the pool with water. Always check the manufacturer’s recommendations for specific products.